I recently started attending my local AR/VR meetup. It’s been a fun way to get back into the swing of working on my own projects. Obviously for anyone reading this blog, I’ve not been too focused on personal projects recently. So, I got inspired after a meetup discussion on side-loading apps on the Oculus Quest (see a similar tutorial at https://uploadvr.com/how-to-sideload-apps-oculus-go/ ).
I’d heard before that the Quest was a glorified Android phone with a headset wrapped around it. What I didn’t realize was that is also largely true from a software perspective. The Quest appears to just be running a custom version of Android. This is similar to systems I’ve worked with in the past, including the Magic Leap One. In the case of the Magic Leap One though, the headset connects to the development machine using a custom toolchain. It appears that Facebook has taken a less custom route as they’re using the default Android toolchain. This means that once the headset is properly configured, we can play around with the standard Android tools and actually get back some results (see the Quest developer setup docs for details https://developer.oculus.com/documentation/quest/latest/concepts/mobile-device-setup-quest/?locale=en_US ). It’s worth noting that I couldn’t get adb to work with the Quest on Linux, so I had to use a Windows PowerShell command prompt to get this working.
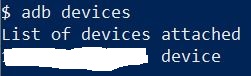
Once you get your device set up and connected to your local adb, you can run the command “adb devices” via PowerShell and you should see something like this:
Now that we have our device connected to a PC, lets poke around and see what we can find. We’ll do this with another adb command “adb shell”. This command gives us a command prompt running on the Quest device itself.

In particular, we want to get some general information about the device. So, we’ll use the Android command “getprop” to print out the Quest’s environment information. This gets you a ton of information about your Quest device, from the device serial number, to the OS version your Quest is running. If we want to narrow down our data to just information about the build running on our Quest device, we could use grep.
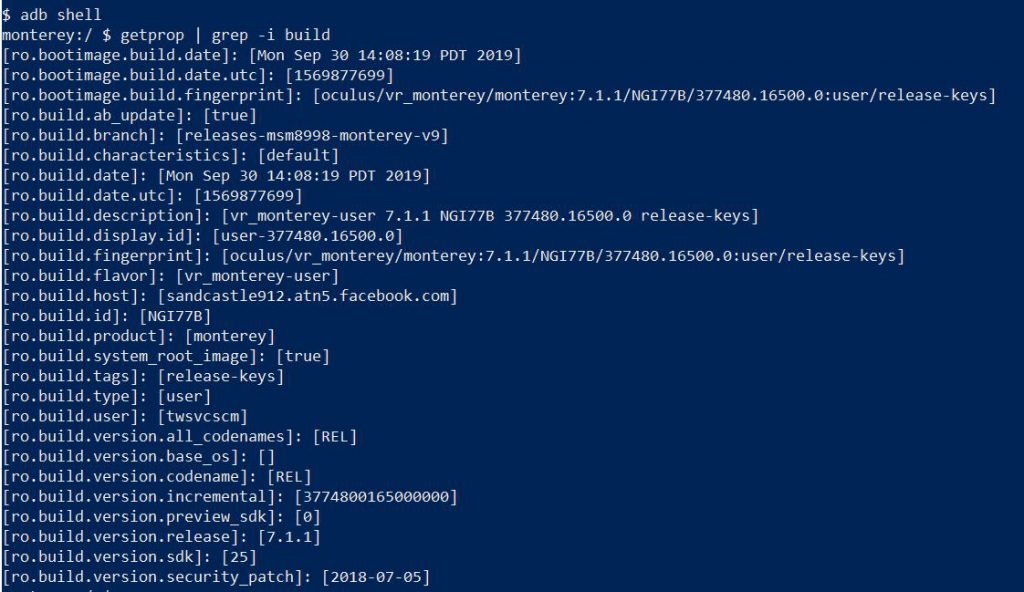
Looking over the build information, we can see some cool things hidden away from the normal Oculus Quest interface. We can see the exact build string is “oculus/vr_monterey/monterey:7.1.1/NGI77B/377480.16500.0:user/release-keys”. We can see our current SDK version is 25. We can even see which Facebook build machine our build ran on “sandcastle912.atn5.facebook.com”.
Now, this is all well and good, but what if we want to see what is happening on our device? This is where the Android tool “uiautomatorviewer” comes into play. It allows us to take a screenshot of our Android device, in this case an Oculus Quest, and also get a little bit of metadata about what’s on the screen.
First, we launch the uiautomatorviewer tool via the command line. Depending on how you installed your Android tools, you may need to specify an absolute path. But in my case I can just launch the .bat directly since the tool’s directory is in my Windows path.

This will launch a new window where we can take screenshots from our Quest. There are a few gotchas though. First, make sure something is actively displaying on the Quest. When the device does not recognize that it’s being worn, it’ll turn off the display and you’ll just see a screenshot of a black screen. Pro tip, use your finger to cover the IR sensor on the inside of the Quest headset to trick it into thinking it’s on your head. From here, simply click “Device Screenshot (uiautomator dump)” to take our screenshot.
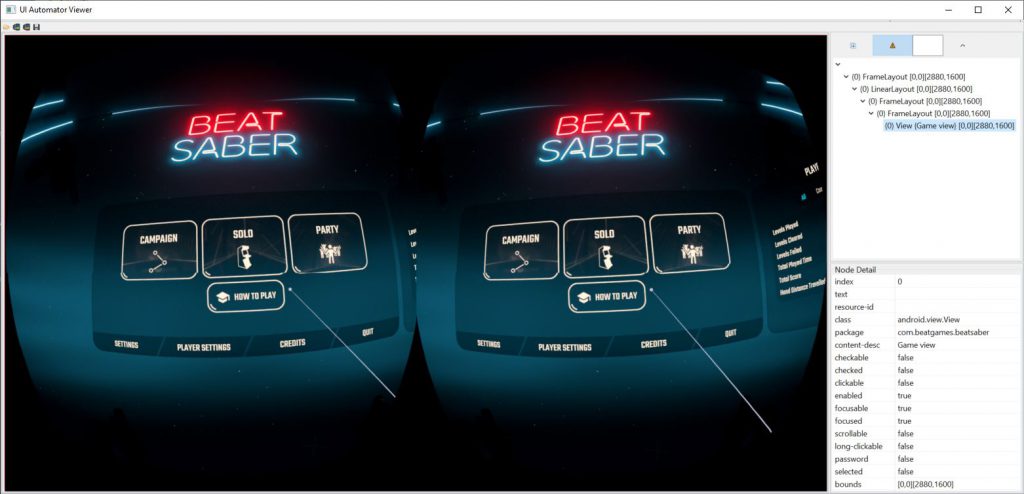
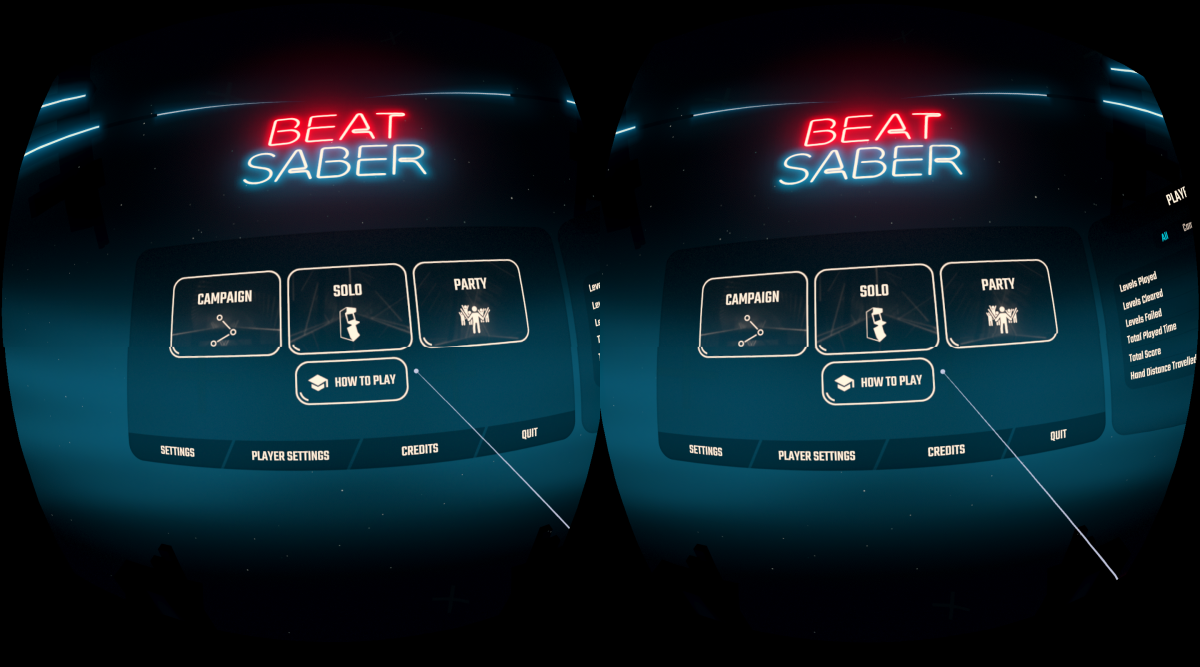
In this case, I took a screenshot of the home screen of the awesome VR game Beat Saber. As with any Android app, we get a bit of metadata from the screen as well. In the case of a normal Android app, we’d be able to see metadata about each element displayed on the screen. On the Quest, we only see a single view for the combined left/right eye image. This view does list the current application as “com.beatgames.beatsaber”, but unfortunately we don’t get much more than that. This is not particularly surprising given that we’re in a 3D application, rather than a standard 2D Android app.
Hopefully in the future, Oculus will add some kind of cool picking logic so that we can select individual UI elements even in VR, but it’s early days yet for this kind of tooling. I’m honestly impressed that these tools all work in the first place. It’s clear Facebook has tried to keep integration with the existing Android development toolkit working, which is probably a good move. It’ll be great to see how this tooling evolves moving forward. In the meantime, at least we can take great high-res screenshots!
