PlotPixie is an AI-powered assistant for Dungeons & Dragons. It’s a one-stop-shop for all your D&D needs, from character creation to encounter design. PlotPixie is powered by cutting-edge AI technology, including ChatGPT, DALL·E, and LangChain. We’re also proud to be a contender for the Streamlit Hackathon 2023.
D&D Character Creator App
🧝♀️ Choose Your Race: From Elves to Dwarves, select from a plethora of races to kickstart your journey.
⚔️ Select Your Class: Be it a valiant Paladin or a cunning Rogue, choose a class that resonates with your inner hero.
🎭 Craft Your Backstory: Every hero has a tale. Forge your character’s backstory, traits, etc. with our intuitive tool.
📜 Character Sheet (PDF): Once your choices are made, get a complete character sheet PDF for your newly minted character.
Coming Soon to PlotPixie 📅
D&D Encounter Creator: Design intricate encounters, fine-tune your challenges, and guarantee every session is unforgettable.
Talk with a D&D Character: Fancy some role-playing practice or just a friendly chat? Soon, you’ll have the chance to interact with AI-driven D&D personas.
Upgrade to GPT-4 API: For enthusiasts seeking a deeper dive, we’re introducing a premium option to harness the capabilities of GPT-4.
Model fine-tuning: We’re constantly improving our AI models to deliver a more immersive experience. Stay tuned for more!
… and more! We’re ceaselessly concocting novel features to enchant both dungeon masters and adventurers. Stay with us for more!
PlotPixie at Streamlit Hackathon 2023
We’re thrilled to unveil PlotPixie as our contender for the Streamlit Hackathon 2023. Our aim is to harness the potential of Streamlit to deliver intuitive and engaging tools tailored for the D&D community. By blending cutting-edge technology with the timeless allure of dungeons and dragons, we aspire to make a useful contribution to the world of tabletop gaming.
While working on the Magic Leap One, one issue was just figuring out what our hardware could really do. At the time, we hadn’t even settled on a final form-factor for our upcoming mixed reality headset that was meant to change the world (or at least maybe replace a few cell phones or TVs). But we knew we’d be using a special version of Nvidia’s Tegra chipset, similar to what was used in the Nintendo switch.
Besides being a bit aghast that our next-generation headset still had to conform to the laws of thermodynamics and include a small spinning fan, it was hard to argue with the graphics power we could get out of these little Nvidia boards. Only a year earlier, we’d started testing mixed reality applications on custom headsets running off of desktops with Nvidia Titan X video cards connected by a bundle of about 12 cables. So achieving even a similar experience with hardware that could fit in (ok maybe on…) your pocket was dang impressive.
That was all well and good if you wanted to run one application at a time, but Magic Leap one was meant to be more than that. We wanted users to be able to run apps concurrently in the foreground and background. Why couldn’t your AI Tamagotchi Dog run around with you while you slay some dragons in your living room? Maybe they could even help! At least that was the dream back then.
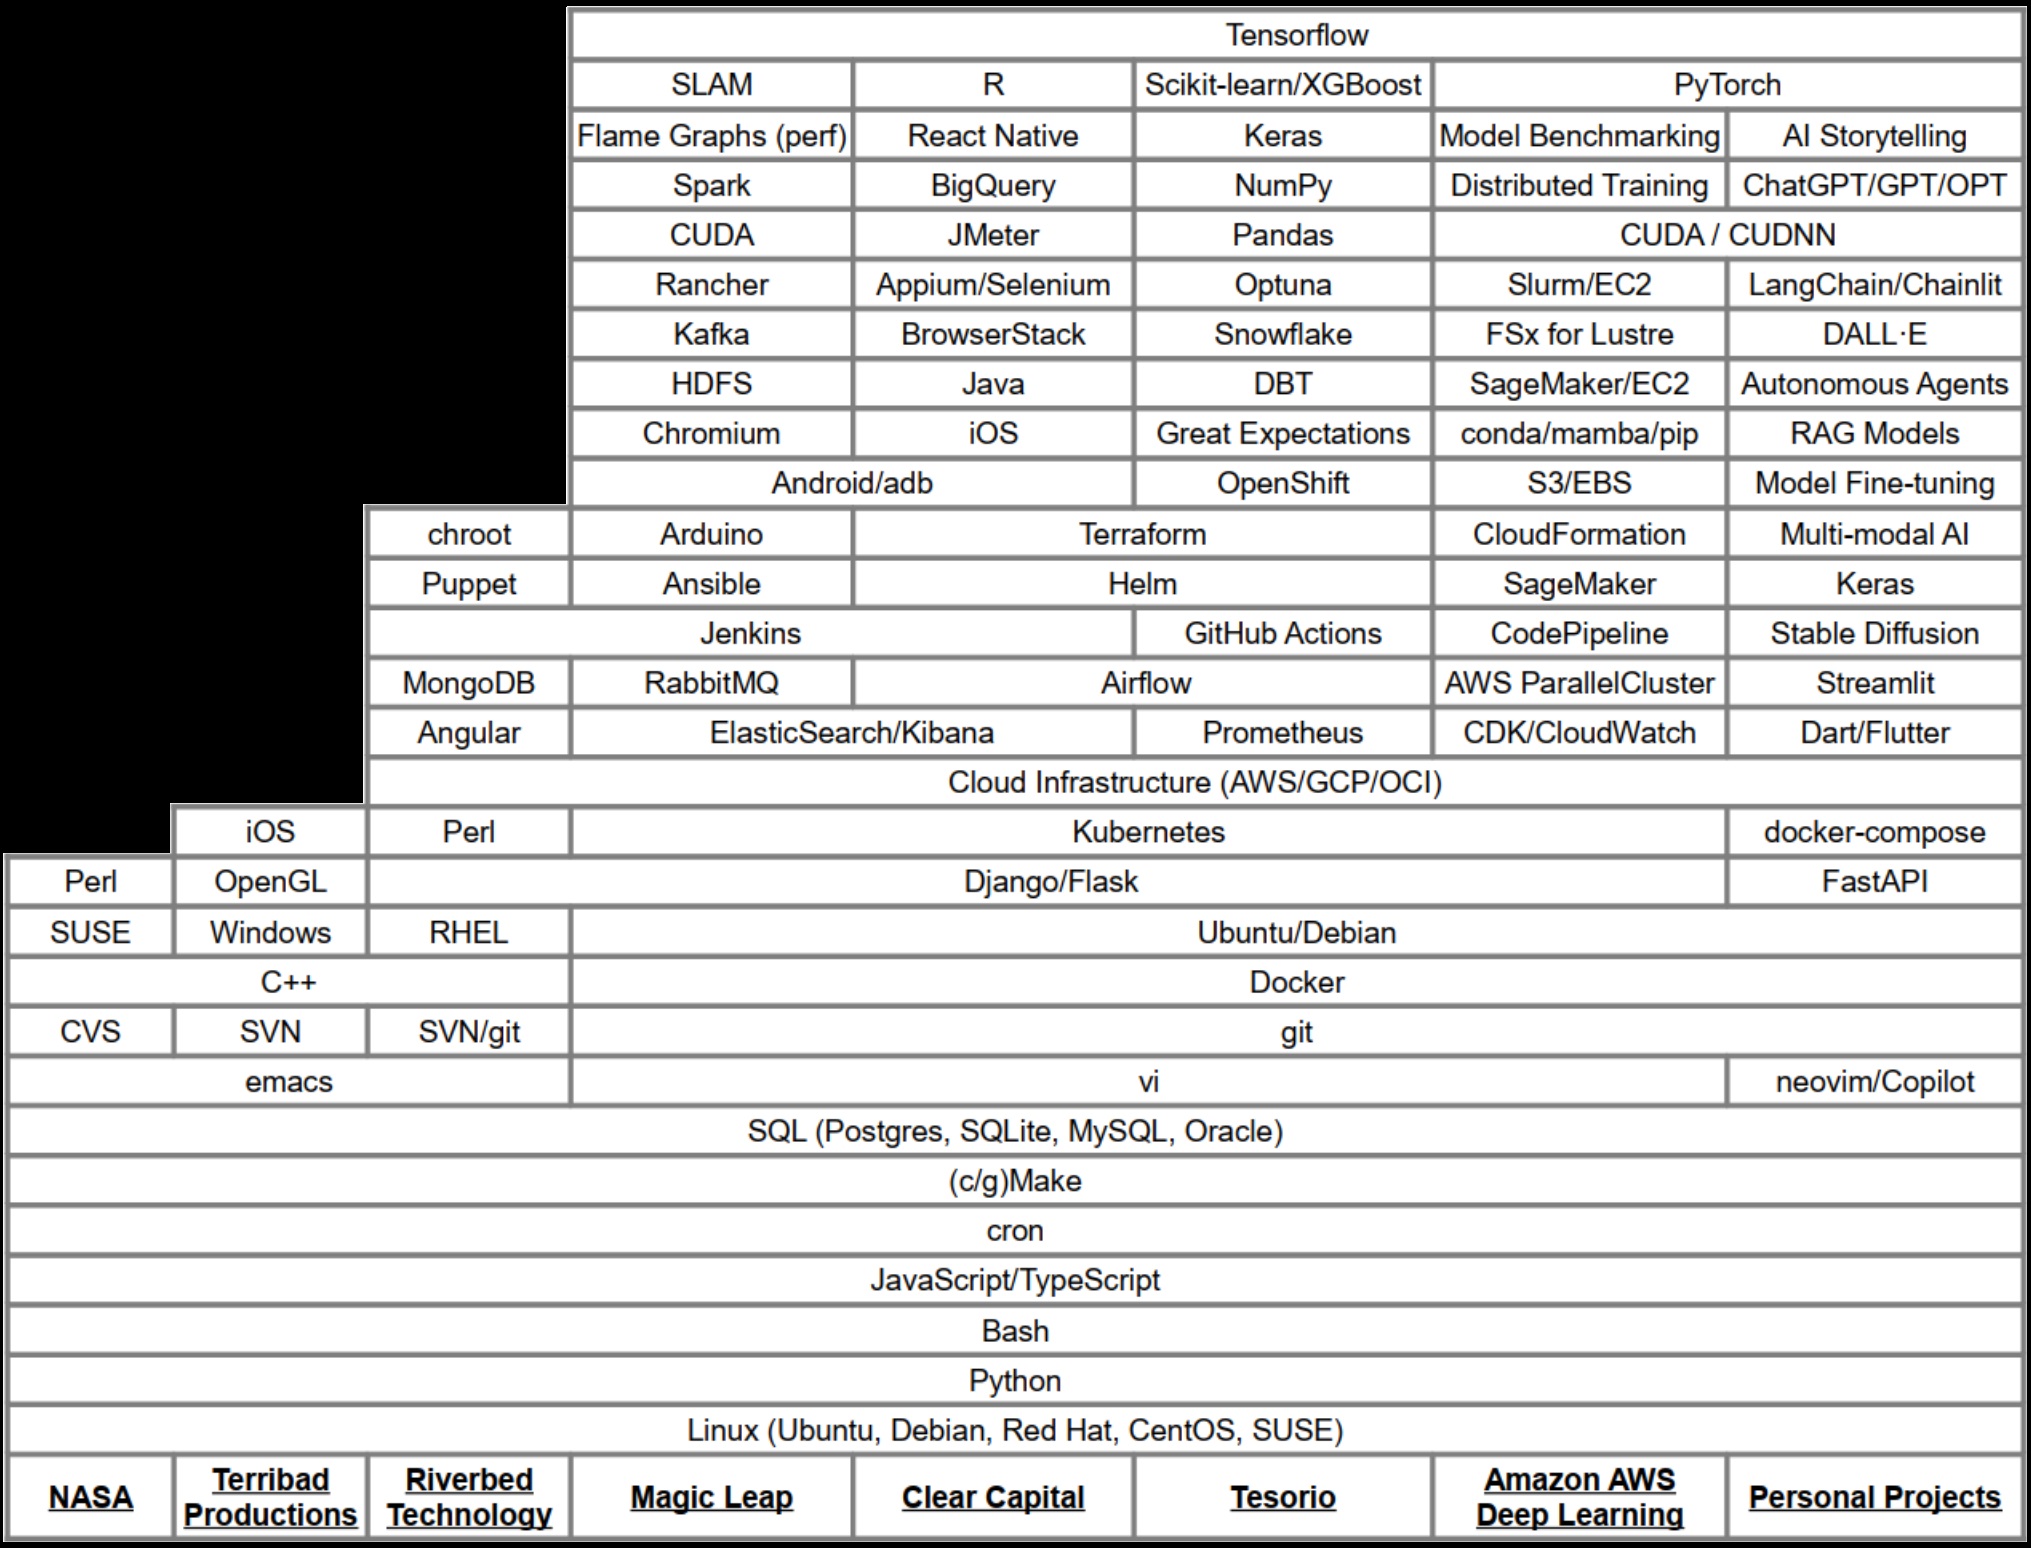
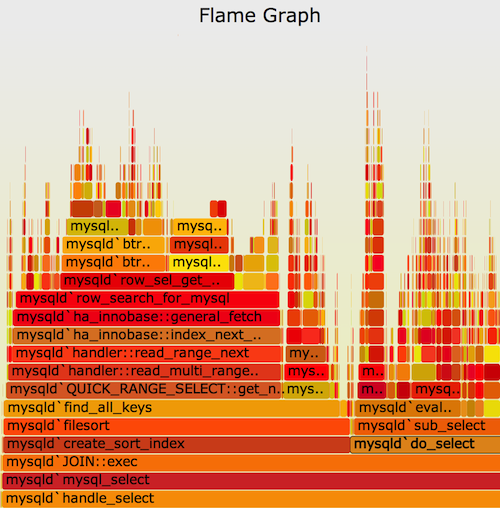
To make the dream a reality though, we had to really understand what our new hardware could do. Luckily, another engineer on my team had spent some time working at Intel with a linux tool called perf. Perf is an awesome profiling tool for linux that allows you to gather information about running processes. This data could then be fed into some special tooling to create flame graphs. “Flame graphs are a visualization of profiled software, allowing the most frequent code-paths to be identified quickly and accurately.” – http://www.brendangregg.com/flamegraphs.html
Those flame graphs turned out to be an amazing tool to really pick apart what’s happening when a piece of software is running, function call by function call. They allowed us to identify what was taking up time and resources and make really great use of the hardware we had. Ever since, I’ve thought that flame graphs could be used for even more though. There are very few other visualizations I’ve run across that can easily communicate that much information in such a small space.
So, I decided to apply the concept to my own career. What would the flame graph of all the skills I’ve accumulated look like? Well, the image above is the end result of that thought experiment. It turns out that the concept maps very well from a program run to a career. The granularity is a bit different, and the meaning of the y-axis is a bit more fuzzy, but the end result is actually a really good snapshot of what I’ve been working on over time. You can see what tools I’ve added to my toolbelt over time, and it’s easily searchable to boot.
So, have a look, let me know what you think! Maybe create your own career flame graph too!
Recently, I’ve been playing around with Machine Learning frameworks some more. In particular, I’ve been fascinated by the potential uses of on-device machine learning using Tensorflow Lite. After open sourcing my first Flutter project, I started playing around with the tflite Flutter package. It had a great example app that I was able to adapt to try out any tflite image classification model I could create.
So, I started playing around with different ideas for apps that would use on-device machine learning to provide utility to end-users. Unfortunately, as I’m sure many folks can relate to, simply coming up with a useful dataset has proven quite a challenge. However, over many iterations of trying out different data sets and different ways to build ML models for image classification, I ended up creating my own little framework that can easily adapt to modeling most simple image classification scenarios.
Anyway, I’ll be posting more results from my experimentation as I can, but I wanted to give a quick shout out to my new open source project. Please check it out, play with the code, and let me know what you think!
One of the coolest experiences of my life was driving around Moffett Field with my Grandpa. Having worked at Enterprise Rent-a-Car for most of his twilight years, he always loved few things more than listening to the radio and staring out the window of a car. This worked out for me, as my poor Grandpa would often spend hours, without complaint, in the parking lot of the NASA Ames Space Science Center waiting for me to emerge from its bomb-proof (and cell signal proof) basement.
Deep within the bowels of the huge concrete structure, was what can only be described as a cross between a Faraday cage, and a museum for defunct computing technology. Even for the late 2000s, the room I worked in as a Technical Research Assistant was filled with ancient computing peripherals, including hard drives who’s platters’ diameter measured in multiple feet. I’d always be amazed when these old platters would still occasionally spin, and I’d hope someone still knew they were there.
But I was always more focused on the work at hand–finding star-forming regions in distant galaxies. To my young mind, this was one of the coolest things a human being could do. After hours of staring at spectral imaging data, and pictures of galaxies, I’d occasionally wonder if someday the stars birthed before me would host civilizations looking back at our (hopefully still inhabited) corner of the universe, billions of years in the future.
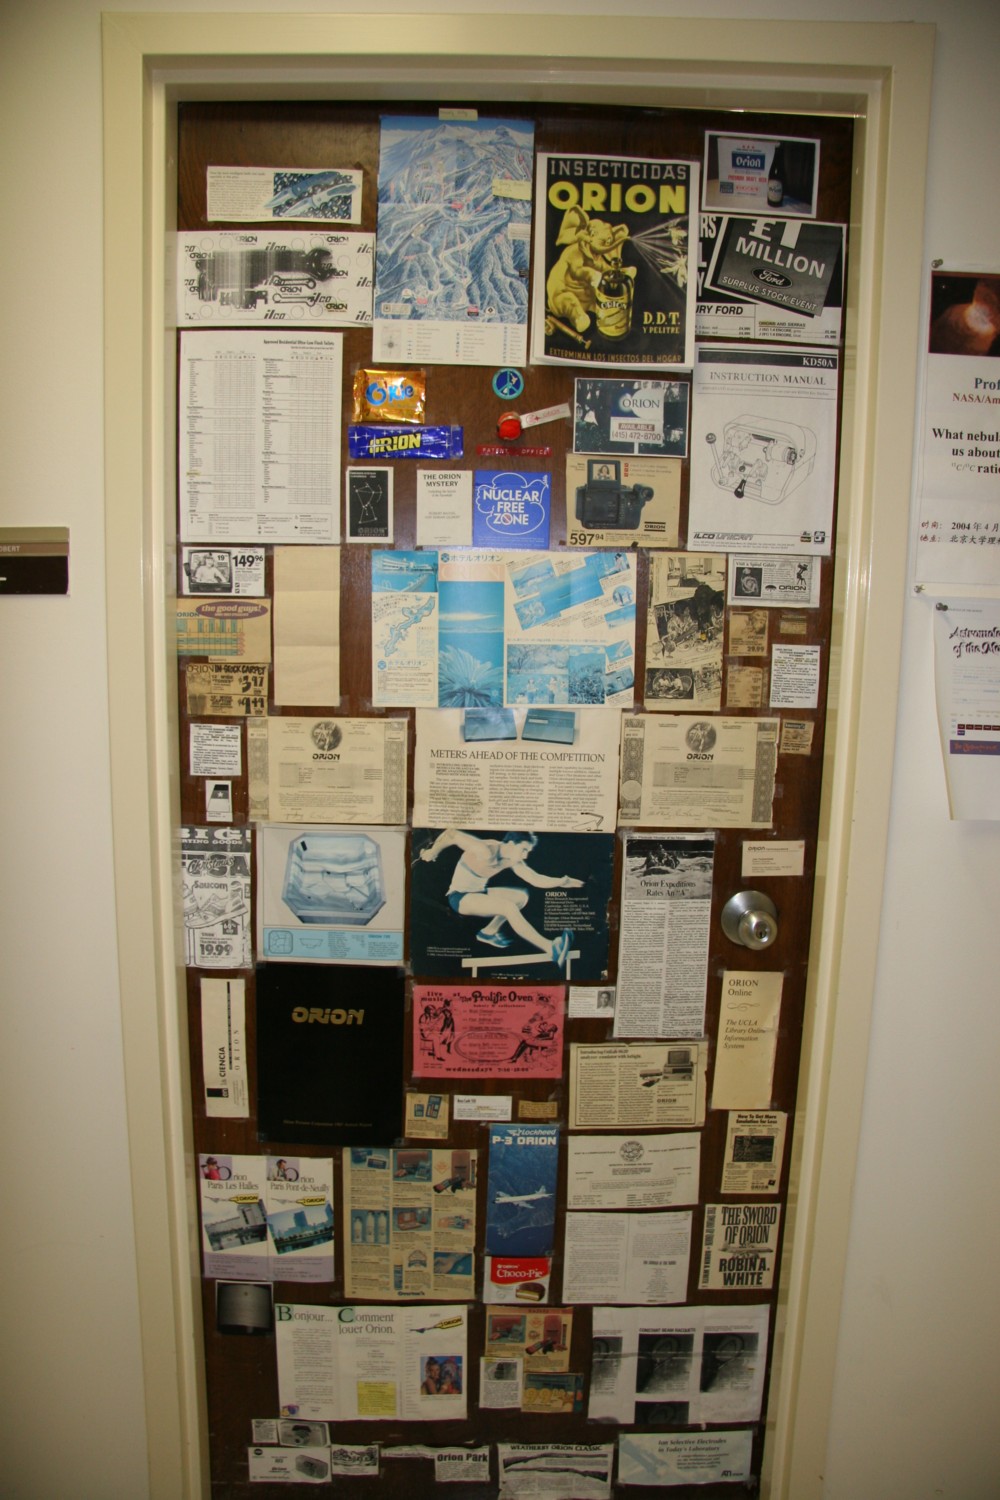
In addition to managing linux boxes, writing bash scripts, and doing basic data analysis tasks, I’d spend many afternoons talking about astrophysics with Dr. Robert Rubin, who ran the project I worked on at NASA. Between discussing stellar metallicity and black holes, I always admired Dr. Rubin’s other life-long project, the Orion Door. The most prominent feature of Dr. Rubin’s office, besides the stereotypical stacks of paper strewn about, the Orion Door was simply the door to Dr. Rubin’s office. But it was adorned with all kinds of different references to the word “Orion”.
Of course, there are lots of references to “Orion” in the world. So eventually the collection exceeded the free space on Dr. Rubin’s door. So, I helped build a website to house all the different “Orion” references that didn’t have a place on the real Orion door. Thus, the Orion Door Collection was born. Sadly, all that remains of that website now is housed in the internet archive, as NASA’s website doesn’t host the pages anymore. Dr. Rubin has since passed away, but in his memory, I wanted to at least share this cool little corner of the early web. I hope someone gets a kick out of it, please take a look!
Now that I finally have my airfare booked (far too close to the last minute) I can say for sure that I’ll be in Las Vegas net week at the AWS re:Invent conference, along with several of my peers. This will be my first year at AWS re:Invent, and I’m still in awe of the conference’s sheer scope.
A few highlights of what I plan to attend include:
Non-Profit Hackathon for Good
Deep learning with PyTorch
Running Kubernetes at Amazon scale using Amazon EKS
How to have your front end and monitor it too
Create an augmented reality web app
I plan to post any resulting code from these projects to my GitHub page, and I’ll likely blog about any particularly cool ones as well. I’ll also do my best to put up a post or two from the conference.
Finally, I’m still looking for teammates for the Hackathon for Good, so if you’re going to attend and would like to team up, shoot me a message at danny@dannydabbles.com.
A few weeks ago, I was hungry for a new project to work on. I wanted something that would complement my day-to-day work on cross-platform React Native apps, but without having to deal with the third-party dependencies, or with CSS. Low-and-behold, Dart/Flutter came to my rescue. Together, this language/framework provide a powerful tool-set for developing apps that can run on Android or iOS.
At first, it was a bit difficult to wrap my head around the language paradigms, especially which widget to use when, and how concurrency is managed. But soon I learned the difference between a Container widget and a Column widget, and it was all up-hill from there. The learning experience was made all the more enjoyable by Flutter’s hot-reload feature, that allows me to see changes to my app in near real-time.
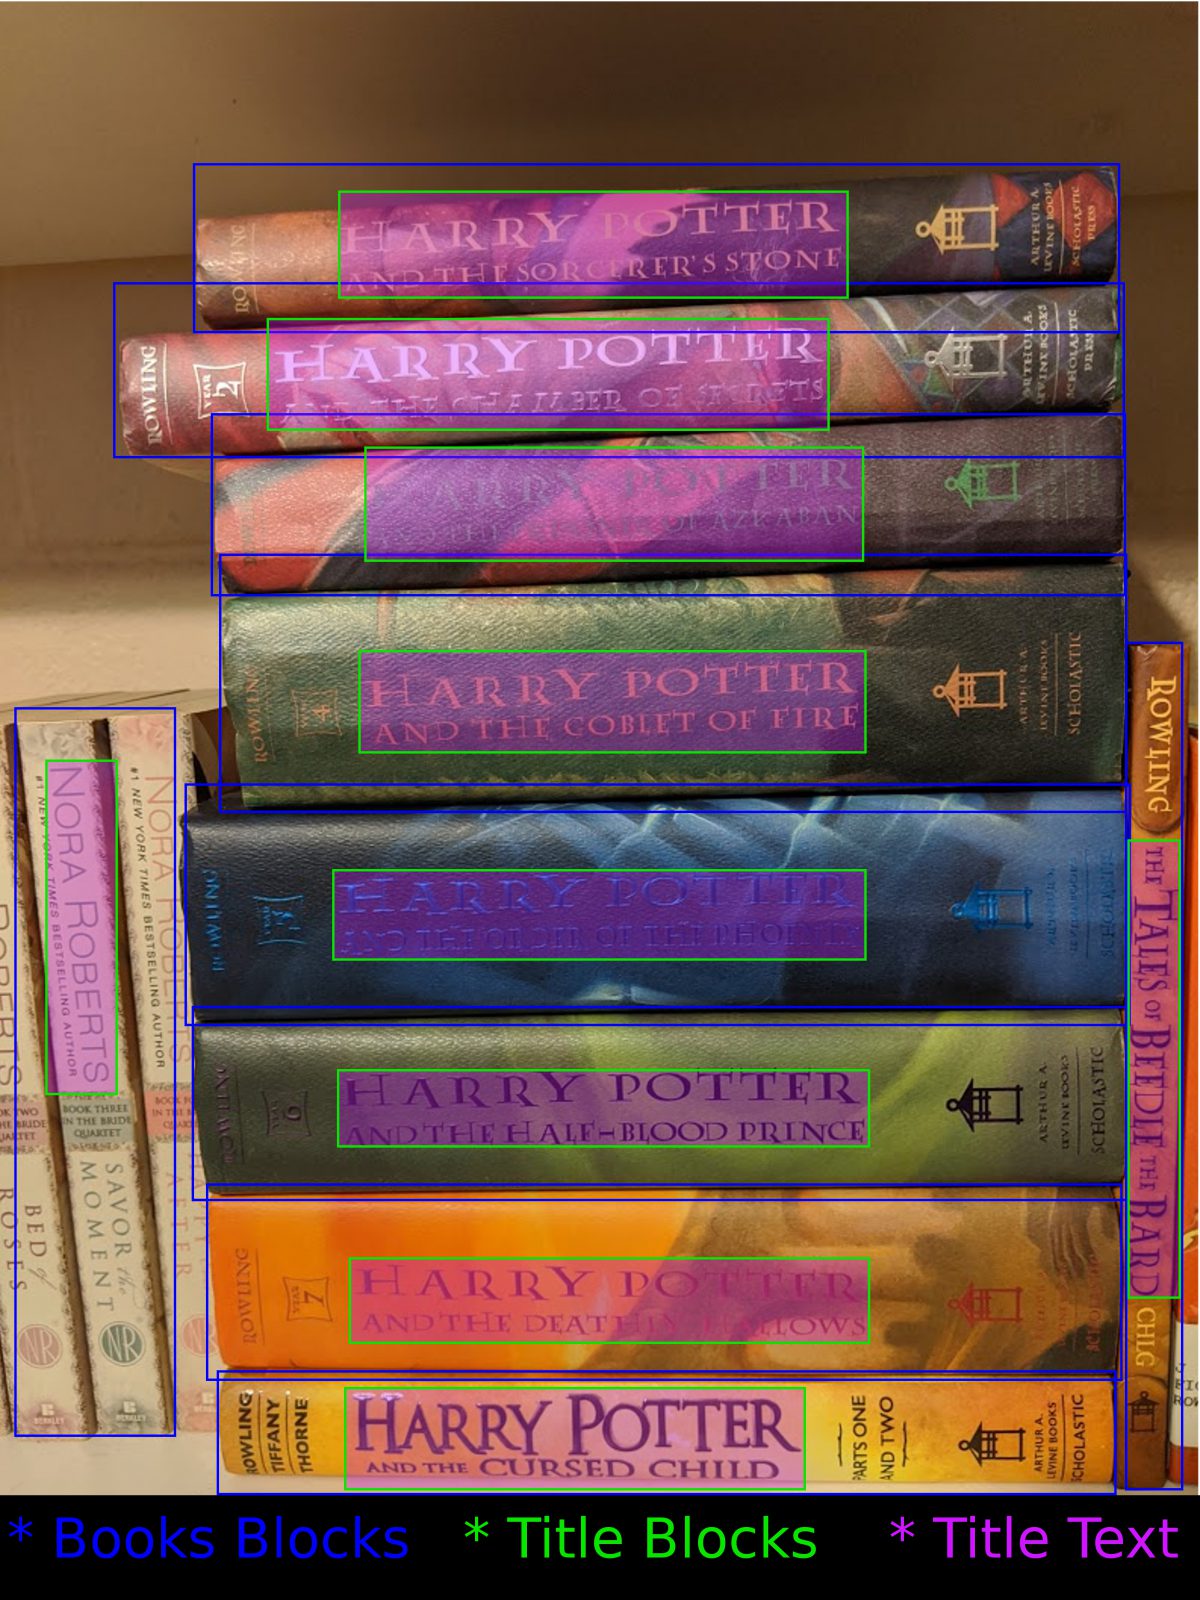
Next thing I knew, I had a working prototype for my ShuffleShelf project. Normally it would have taken me much longer to make such a smooth, interactive, and reactive app, but with Flutter it was easy. Of course, being just a prototype there is still a lot of work to do, but it’s coming along. In fact, I like the project so much, I’ve decided to submit it for consideration to the Android Developer Challenge. No idea if I’ll be chosen as one of the 10 winners, but it has been a fun excuse to document my work in any case.
I do hope I win the challenge though as it comes with help from Google Engineers specializing in Machine Learning. This would enable me to add bulk uploading of several books at once to my app, and provide a major point of differentiation with different book tracking apps. For now, I’ll just keep my fingers crossed and keep checking off my calendar until December 15th.
Please take a look at the source code, and file issues if you notice any major bugs or typos, or if you simply would like to request additional features or details.
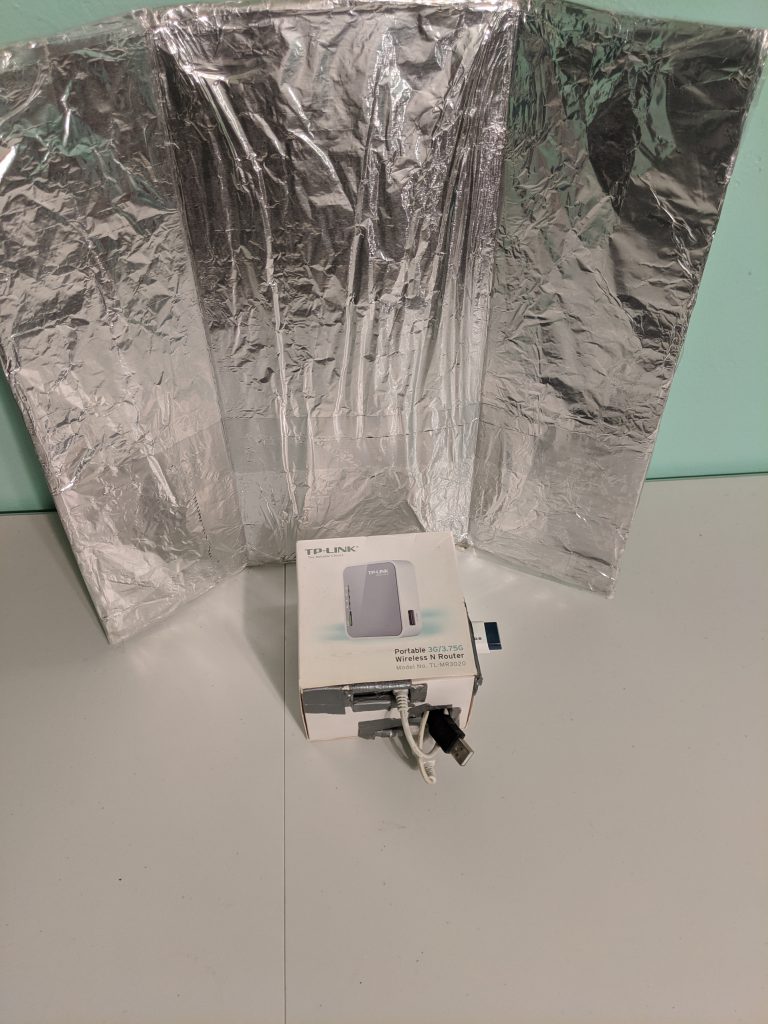
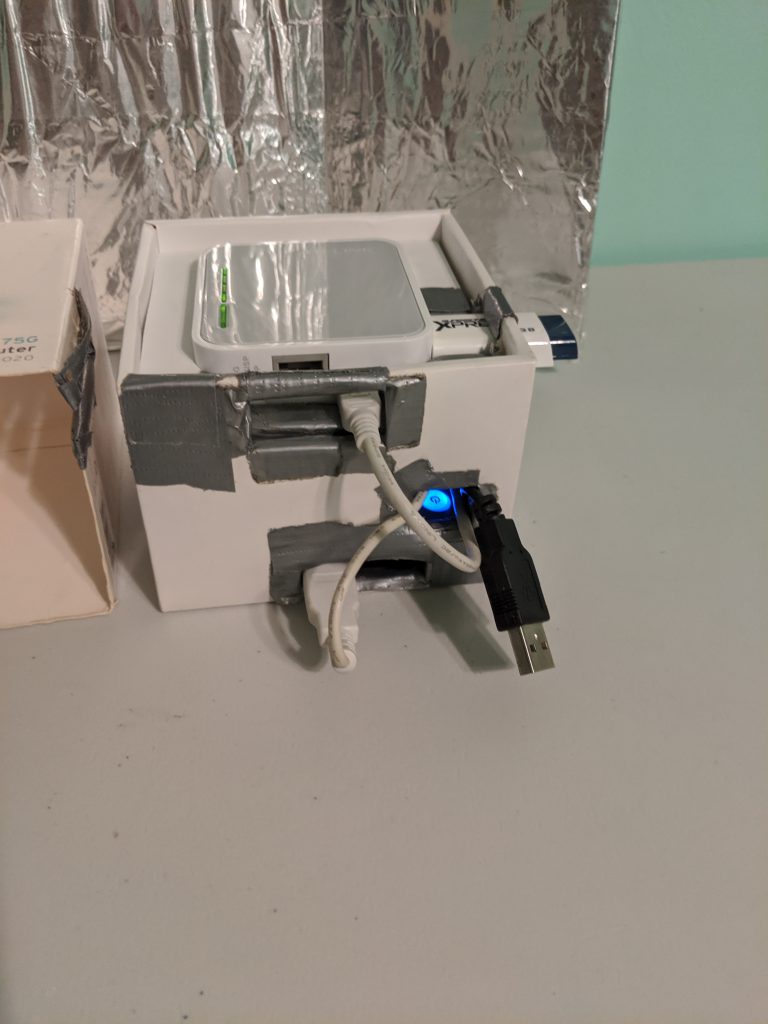
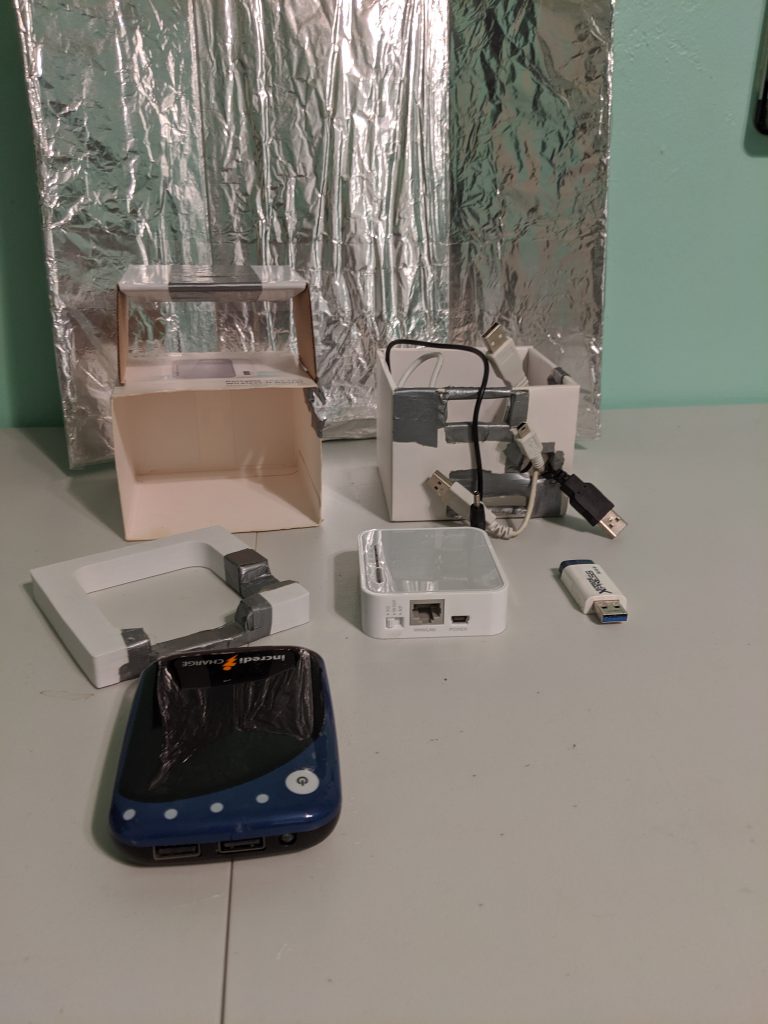
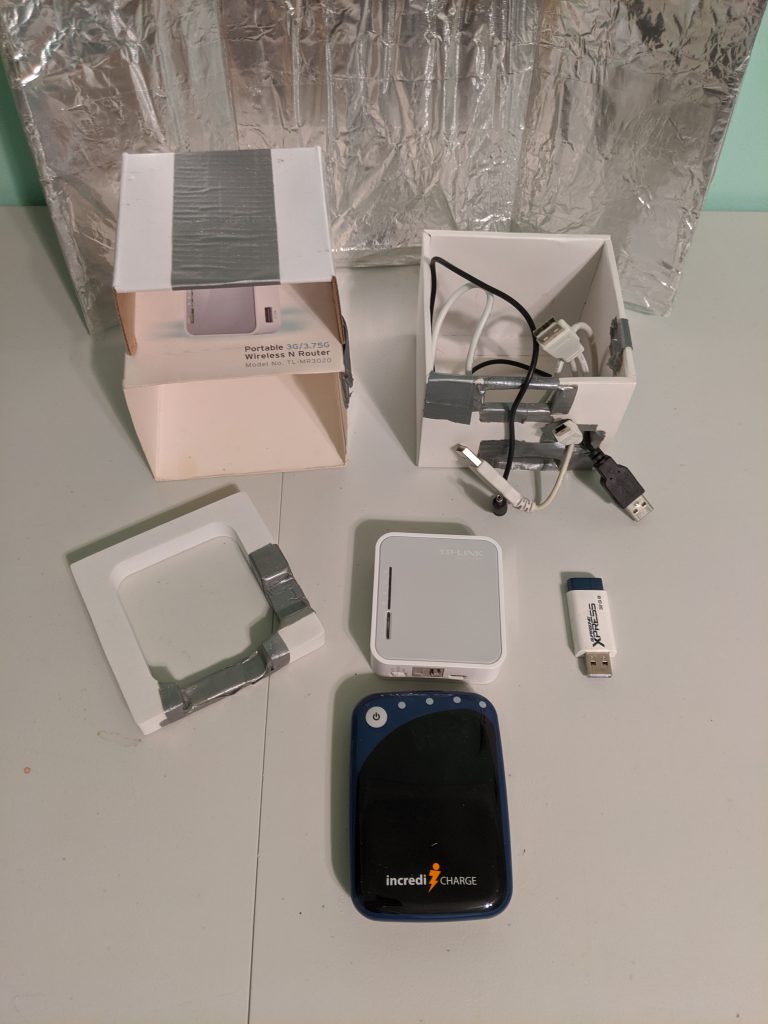
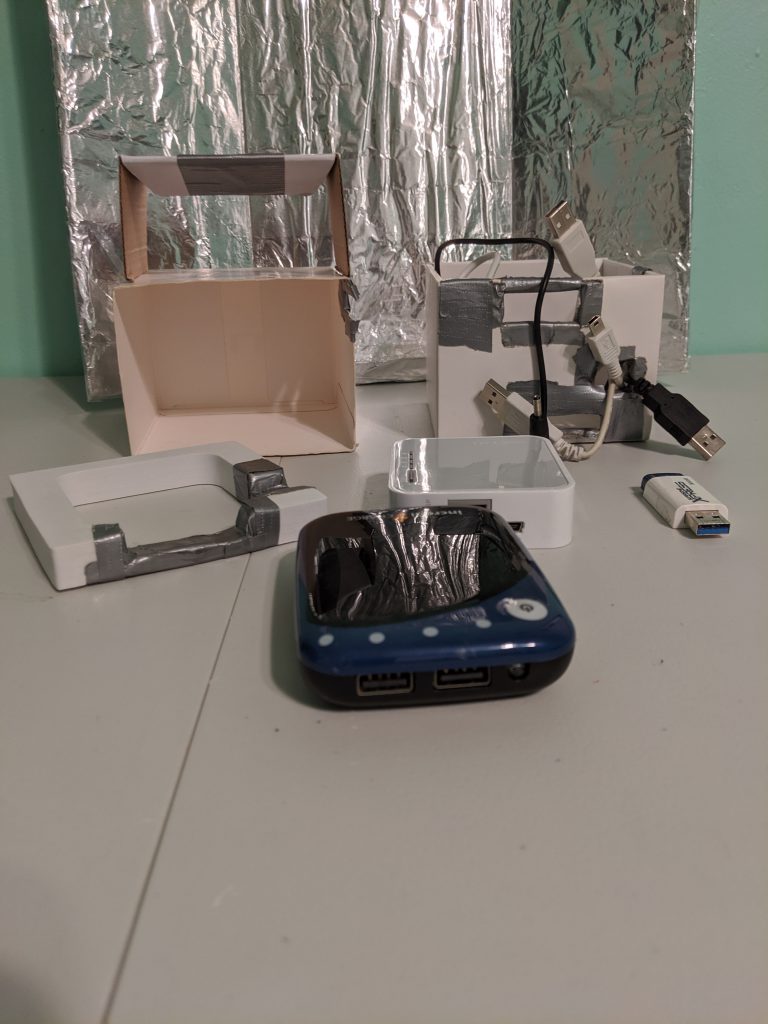
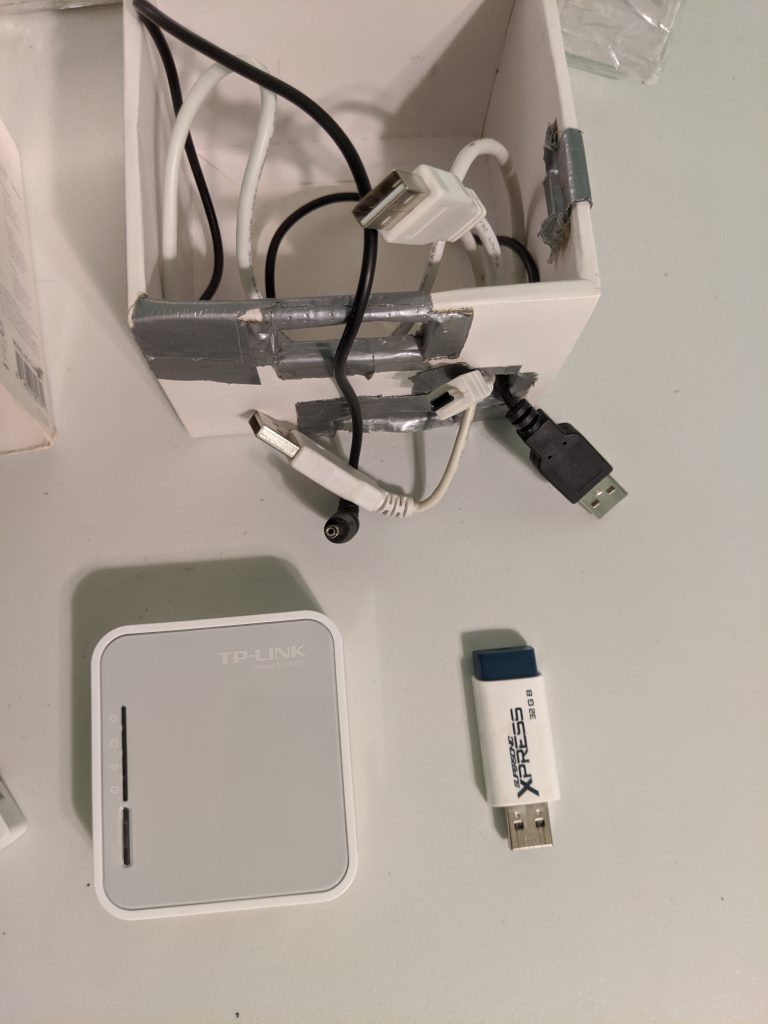
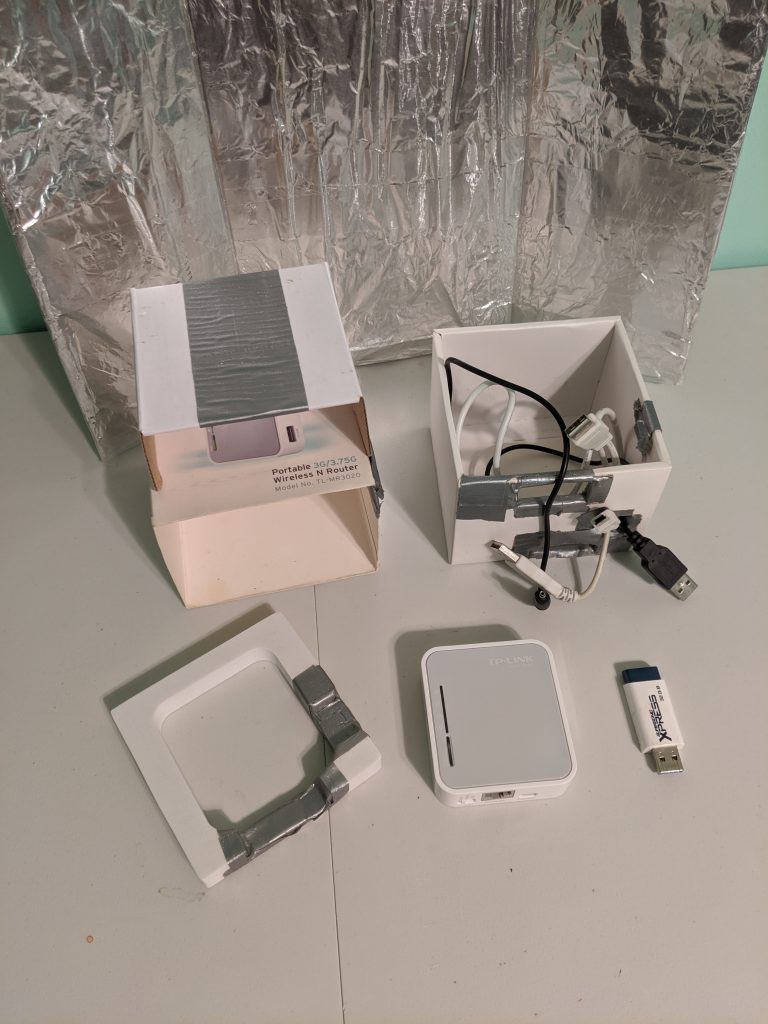
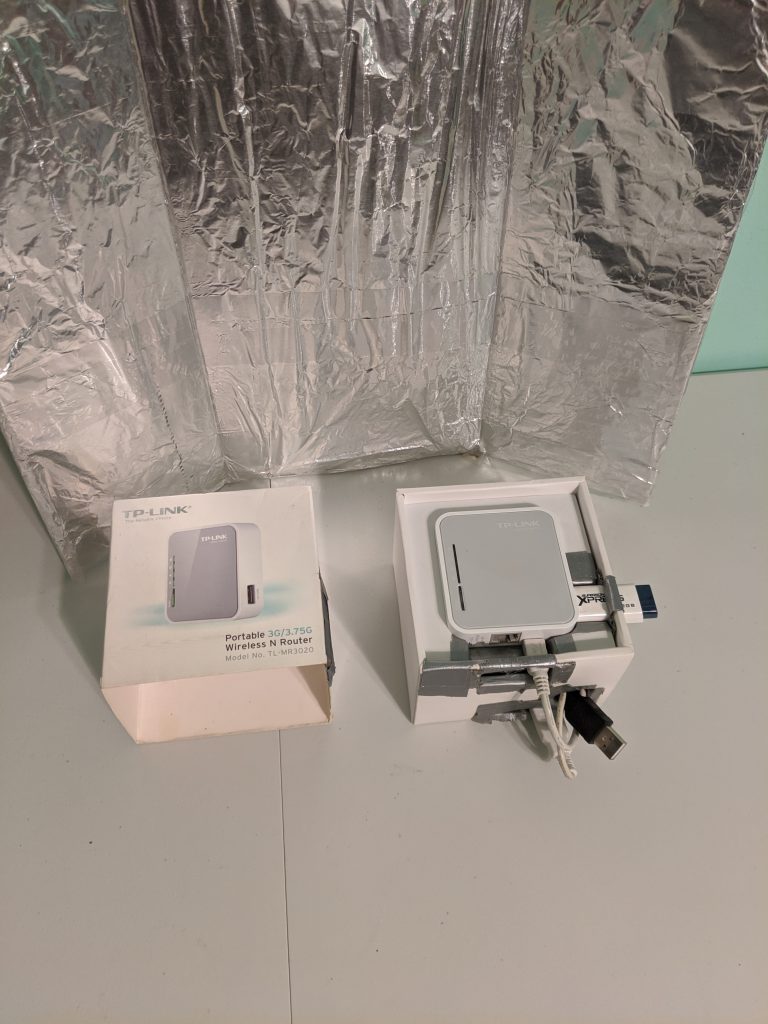
One of my oldest and favorite projects is my little mr320 Piratebox.
My PirateBox with my janky home-made aluminum foil and cardboard wifi signal reflector
It’s a simple little device, just a small 802.11n wireless router with a 32G thumb drive for storage and a USB battery pack. But with the Piratebox software installed, it’s my own little personal internet cube. Anyone who connects to its wifi will be redirected to a simple web server with a chat room and a forum. Users can also upload and download files to share.
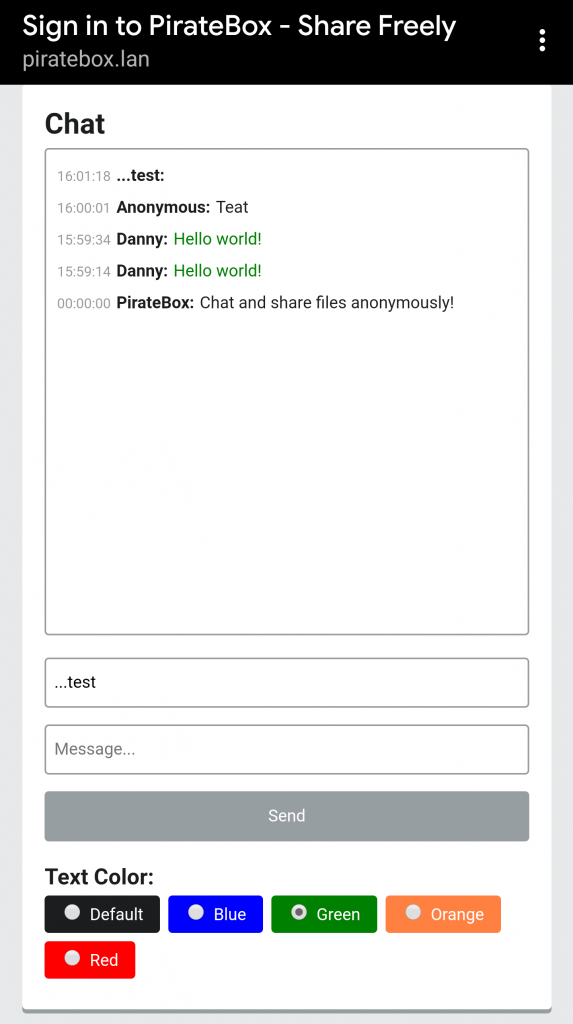
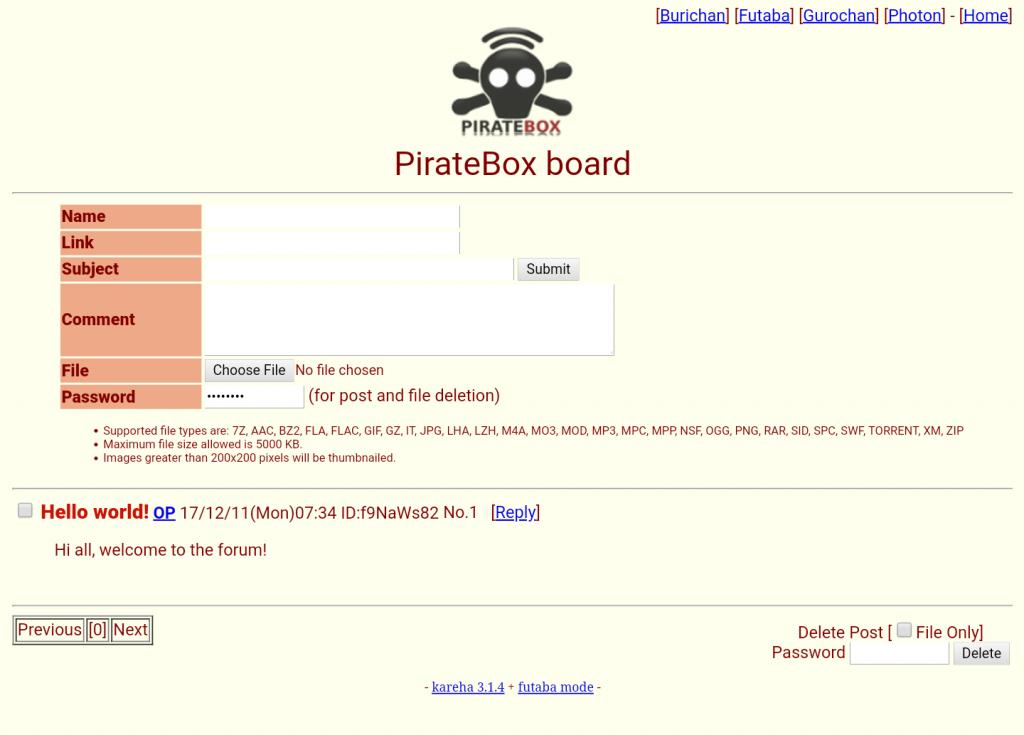
My current PirateBox chat… accidental teatMy PirateBox forum page, aka post-apocalyptic Reddit
Since the device has no external dependencies, I like to imagine it as my personal ISP of last resort. In a pinch, I could provide any group of people with an easy way to share data between devices. More than that, data could be indexed and discussed by anyone on the network.
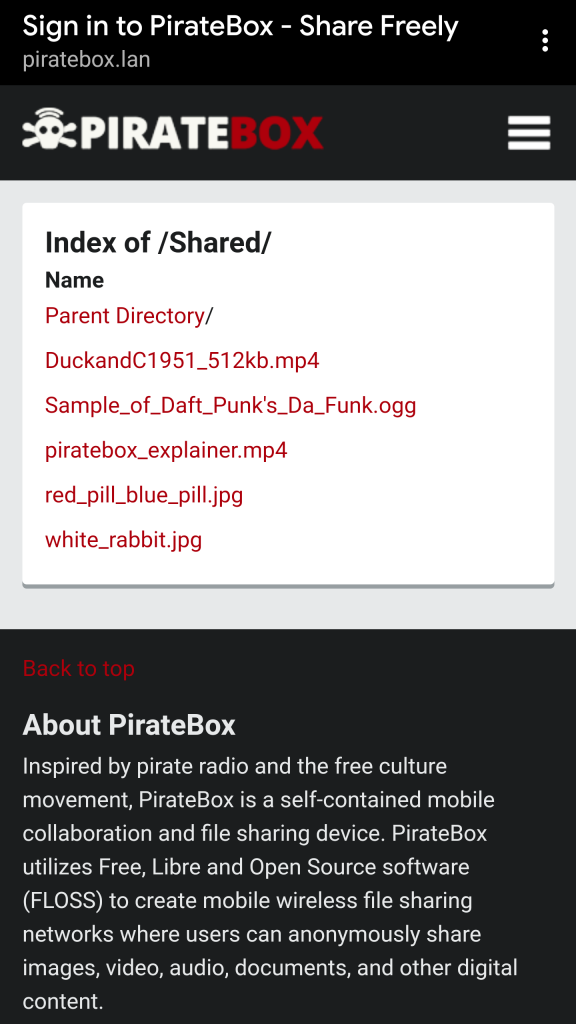
The random stuff I keep on my PirateBox by default… gotta have some Daft Punk
The PirateBox project has awesome docs, and many different configurations, so I won’t bother explaining all the details here. There are lots of possible options and modifications, but I never got around to playing with them much. Maybe I’ll make a future post on that.
Unfortunately, I rarely get others accessing my PirateBox. This is usually because the only public place you could normally access it is from a particular area of a public trail near my house. The one time I did get decent usage was visiting an outdoor event at Golden Gate Park in San Francisco. I was super excited to see people actually using the chat room! The fact that they were mostly doing drug deals only made the interaction more amusing.
So, given the right circumstances, or the end of the world, this little device can be something between a fun communication tool and a self-contained internet Arc. But today, like most days, it’s just sitting there waiting for a trail goer to notice it.
I recently started attending my local AR/VR meetup. It’s been a fun way to get back into the swing of working on my own projects. Obviously for anyone reading this blog, I’ve not been too focused on personal projects recently. So, I got inspired after a meetup discussion on side-loading apps on the Oculus Quest (see a similar tutorial at https://uploadvr.com/how-to-sideload-apps-oculus-go/ ).
I’d heard before that the Quest was a glorified Android phone with a headset wrapped around it. What I didn’t realize was that is also largely true from a software perspective. The Quest appears to just be running a custom version of Android. This is similar to systems I’ve worked with in the past, including the Magic Leap One. In the case of the Magic Leap One though, the headset connects to the development machine using a custom toolchain. It appears that Facebook has taken a less custom route as they’re using the default Android toolchain. This means that once the headset is properly configured, we can play around with the standard Android tools and actually get back some results (see the Quest developer setup docs for details https://developer.oculus.com/documentation/quest/latest/concepts/mobile-device-setup-quest/?locale=en_US ). It’s worth noting that I couldn’t get adb to work with the Quest on Linux, so I had to use a Windows PowerShell command prompt to get this working.
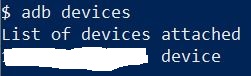
Once you get your device set up and connected to your local adb, you can run the command “adb devices” via PowerShell and you should see something like this:
If you see “unauthorized” instead of “device” you probably need to turn on “developer mode” on your Quest
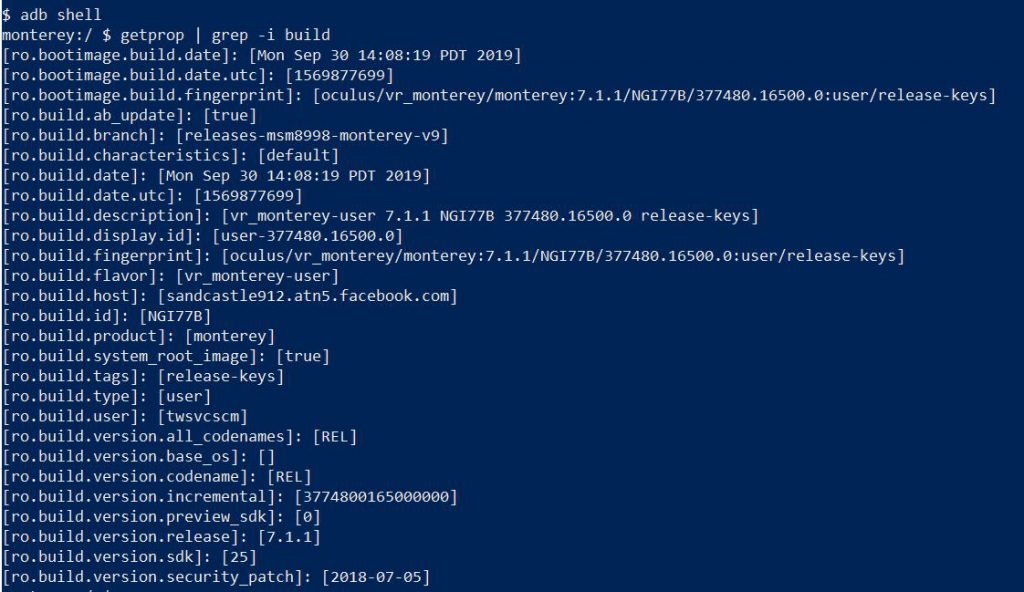
Now that we have our device connected to a PC, lets poke around and see what we can find. We’ll do this with another adb command “adb shell”. This command gives us a command prompt running on the Quest device itself.
In particular, we want to get some general information about the device. So, we’ll use the Android command “getprop” to print out the Quest’s environment information. This gets you a ton of information about your Quest device, from the device serial number, to the OS version your Quest is running. If we want to narrow down our data to just information about the build running on our Quest device, we could use grep.
Looking over the build information, we can see some cool things hidden away from the normal Oculus Quest interface. We can see the exact build string is “oculus/vr_monterey/monterey:7.1.1/NGI77B/377480.16500.0:user/release-keys”. We can see our current SDK version is 25. We can even see which Facebook build machine our build ran on “sandcastle912.atn5.facebook.com”.
Now, this is all well and good, but what if we want to see what is happening on our device? This is where the Android tool “uiautomatorviewer” comes into play. It allows us to take a screenshot of our Android device, in this case an Oculus Quest, and also get a little bit of metadata about what’s on the screen.
First, we launch the uiautomatorviewer tool via the command line. Depending on how you installed your Android tools, you may need to specify an absolute path. But in my case I can just launch the .bat directly since the tool’s directory is in my Windows path.
Use “CTRL+C” to kill the uiautomatorviewer tool
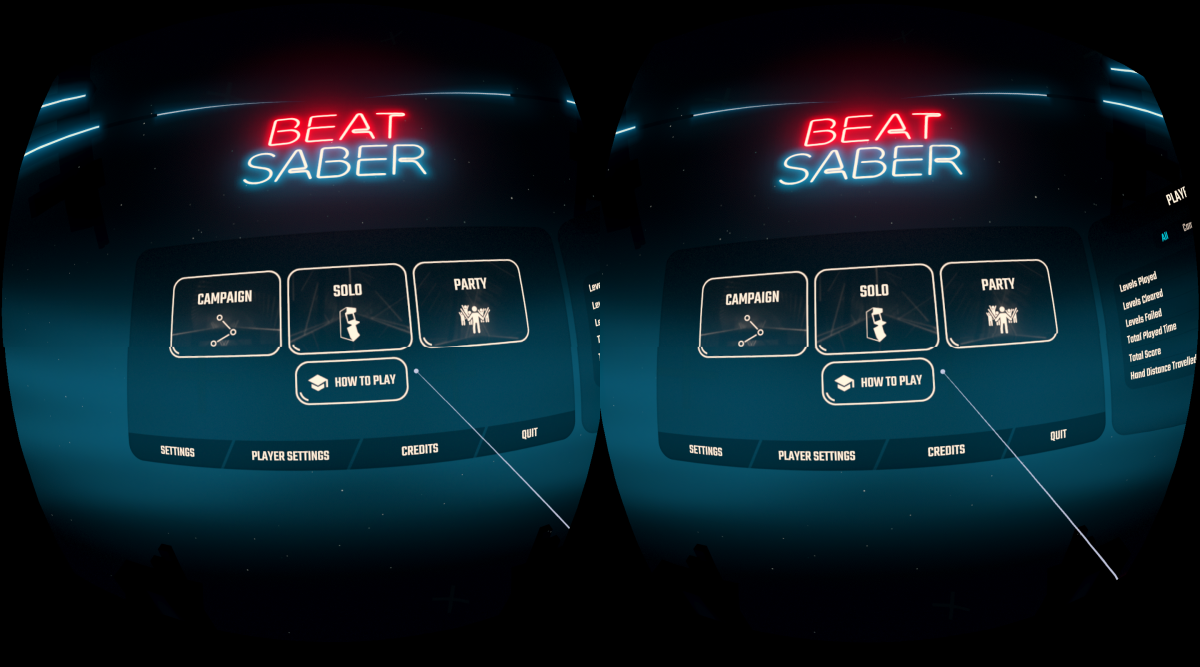
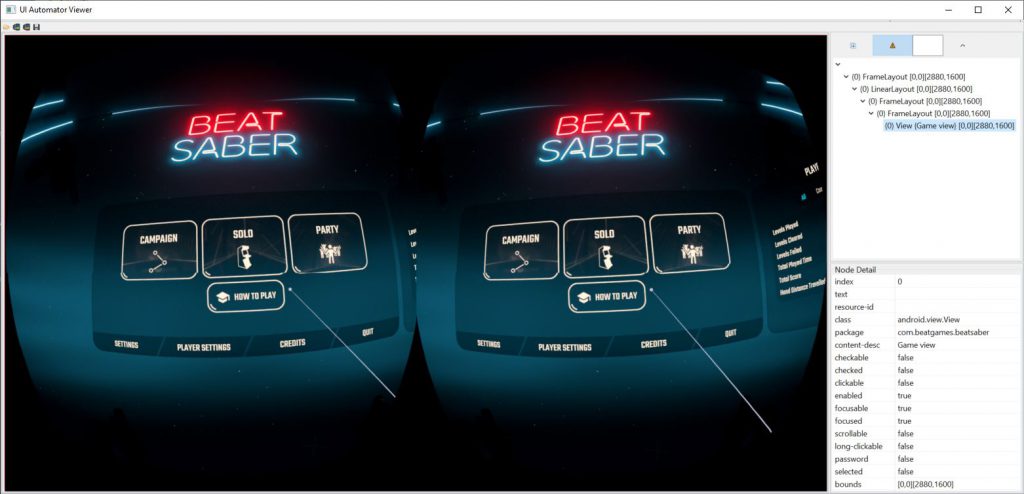
This will launch a new window where we can take screenshots from our Quest. There are a few gotchas though. First, make sure something is actively displaying on the Quest. When the device does not recognize that it’s being worn, it’ll turn off the display and you’ll just see a screenshot of a black screen. Pro tip, use your finger to cover the IR sensor on the inside of the Quest headset to trick it into thinking it’s on your head. From here, simply click “Device Screenshot (uiautomator dump)” to take our screenshot.
Exercise for the reader: click around those FrameLayout nodes for a bit of extra (though not super useful) screen data
In this case, I took a screenshot of the home screen of the awesome VR game Beat Saber. As with any Android app, we get a bit of metadata from the screen as well. In the case of a normal Android app, we’d be able to see metadata about each element displayed on the screen. On the Quest, we only see a single view for the combined left/right eye image. This view does list the current application as “com.beatgames.beatsaber”, but unfortunately we don’t get much more than that. This is not particularly surprising given that we’re in a 3D application, rather than a standard 2D Android app.
Hopefully in the future, Oculus will add some kind of cool picking logic so that we can select individual UI elements even in VR, but it’s early days yet for this kind of tooling. I’m honestly impressed that these tools all work in the first place. It’s clear Facebook has tried to keep integration with the existing Android development toolkit working, which is probably a good move. It’ll be great to see how this tooling evolves moving forward. In the meantime, at least we can take great high-res screenshots!
Life has a funny way of being distracting. I’ve been rather busy with work recently, and I haven’t had much time to update this blog. However, I’m going to try and change that now that I’m finally taking some much needed time off.
I’ll keep this short and to the point. Just giving a quit update, and a notice to stay tuned for more.